Holy Cow!

Friday, December 31, 2021

Finished Christmas Cards Prior to Year End...

These dozen I completed between Christmas and New Year's. They are like others I did during the year but they weren't completely finished in time to send. The ATC's in the front are still in need of a sentiment but... not today. It was delightful to have the time to finish these this week, so I did. :)

From the October 2021 Paper Pumpkin kit, and previous post. I had enough envelopes to make five more...

Finished Scrappy Backgrounds that are a quick and easy card. Add twine, bling and sentiment and bada boom! More Christmas cards...

This one, the background was completed from a video I watched of Nina-Marie Trapani's a couple months ago. The struggle here was die-cutting this Concord and 9th mistletoe three times and stacking them. Ou vey!

And a napkin card completed...

Off and running tomorrow with my annual challenge to make a minimum of five Christmas cards each month... who's with me? And, HAPPY NEW YEAR!!

Thursday, December 2, 2021

Paper Pumpkin Christmas Kit...

As I finished working with the October 2021 Paper Pumpkin kit, I was soooo delighted! I followed tutorials from a couple different peeps who showcase doing alternative cards with the supplies in the kit. By the end, I had made thirty cards (with makings for five more) AND completed matching envelopes. I have a challenge for myself to make five Christmas cards a month during the year but had missed two months in a row, which made me feel short supplied...

These two are what the kit was supposed to make, five of each. I made one each...

I made one each of these three. They didn't knock my socks off but I'm happy to have them for my stash...

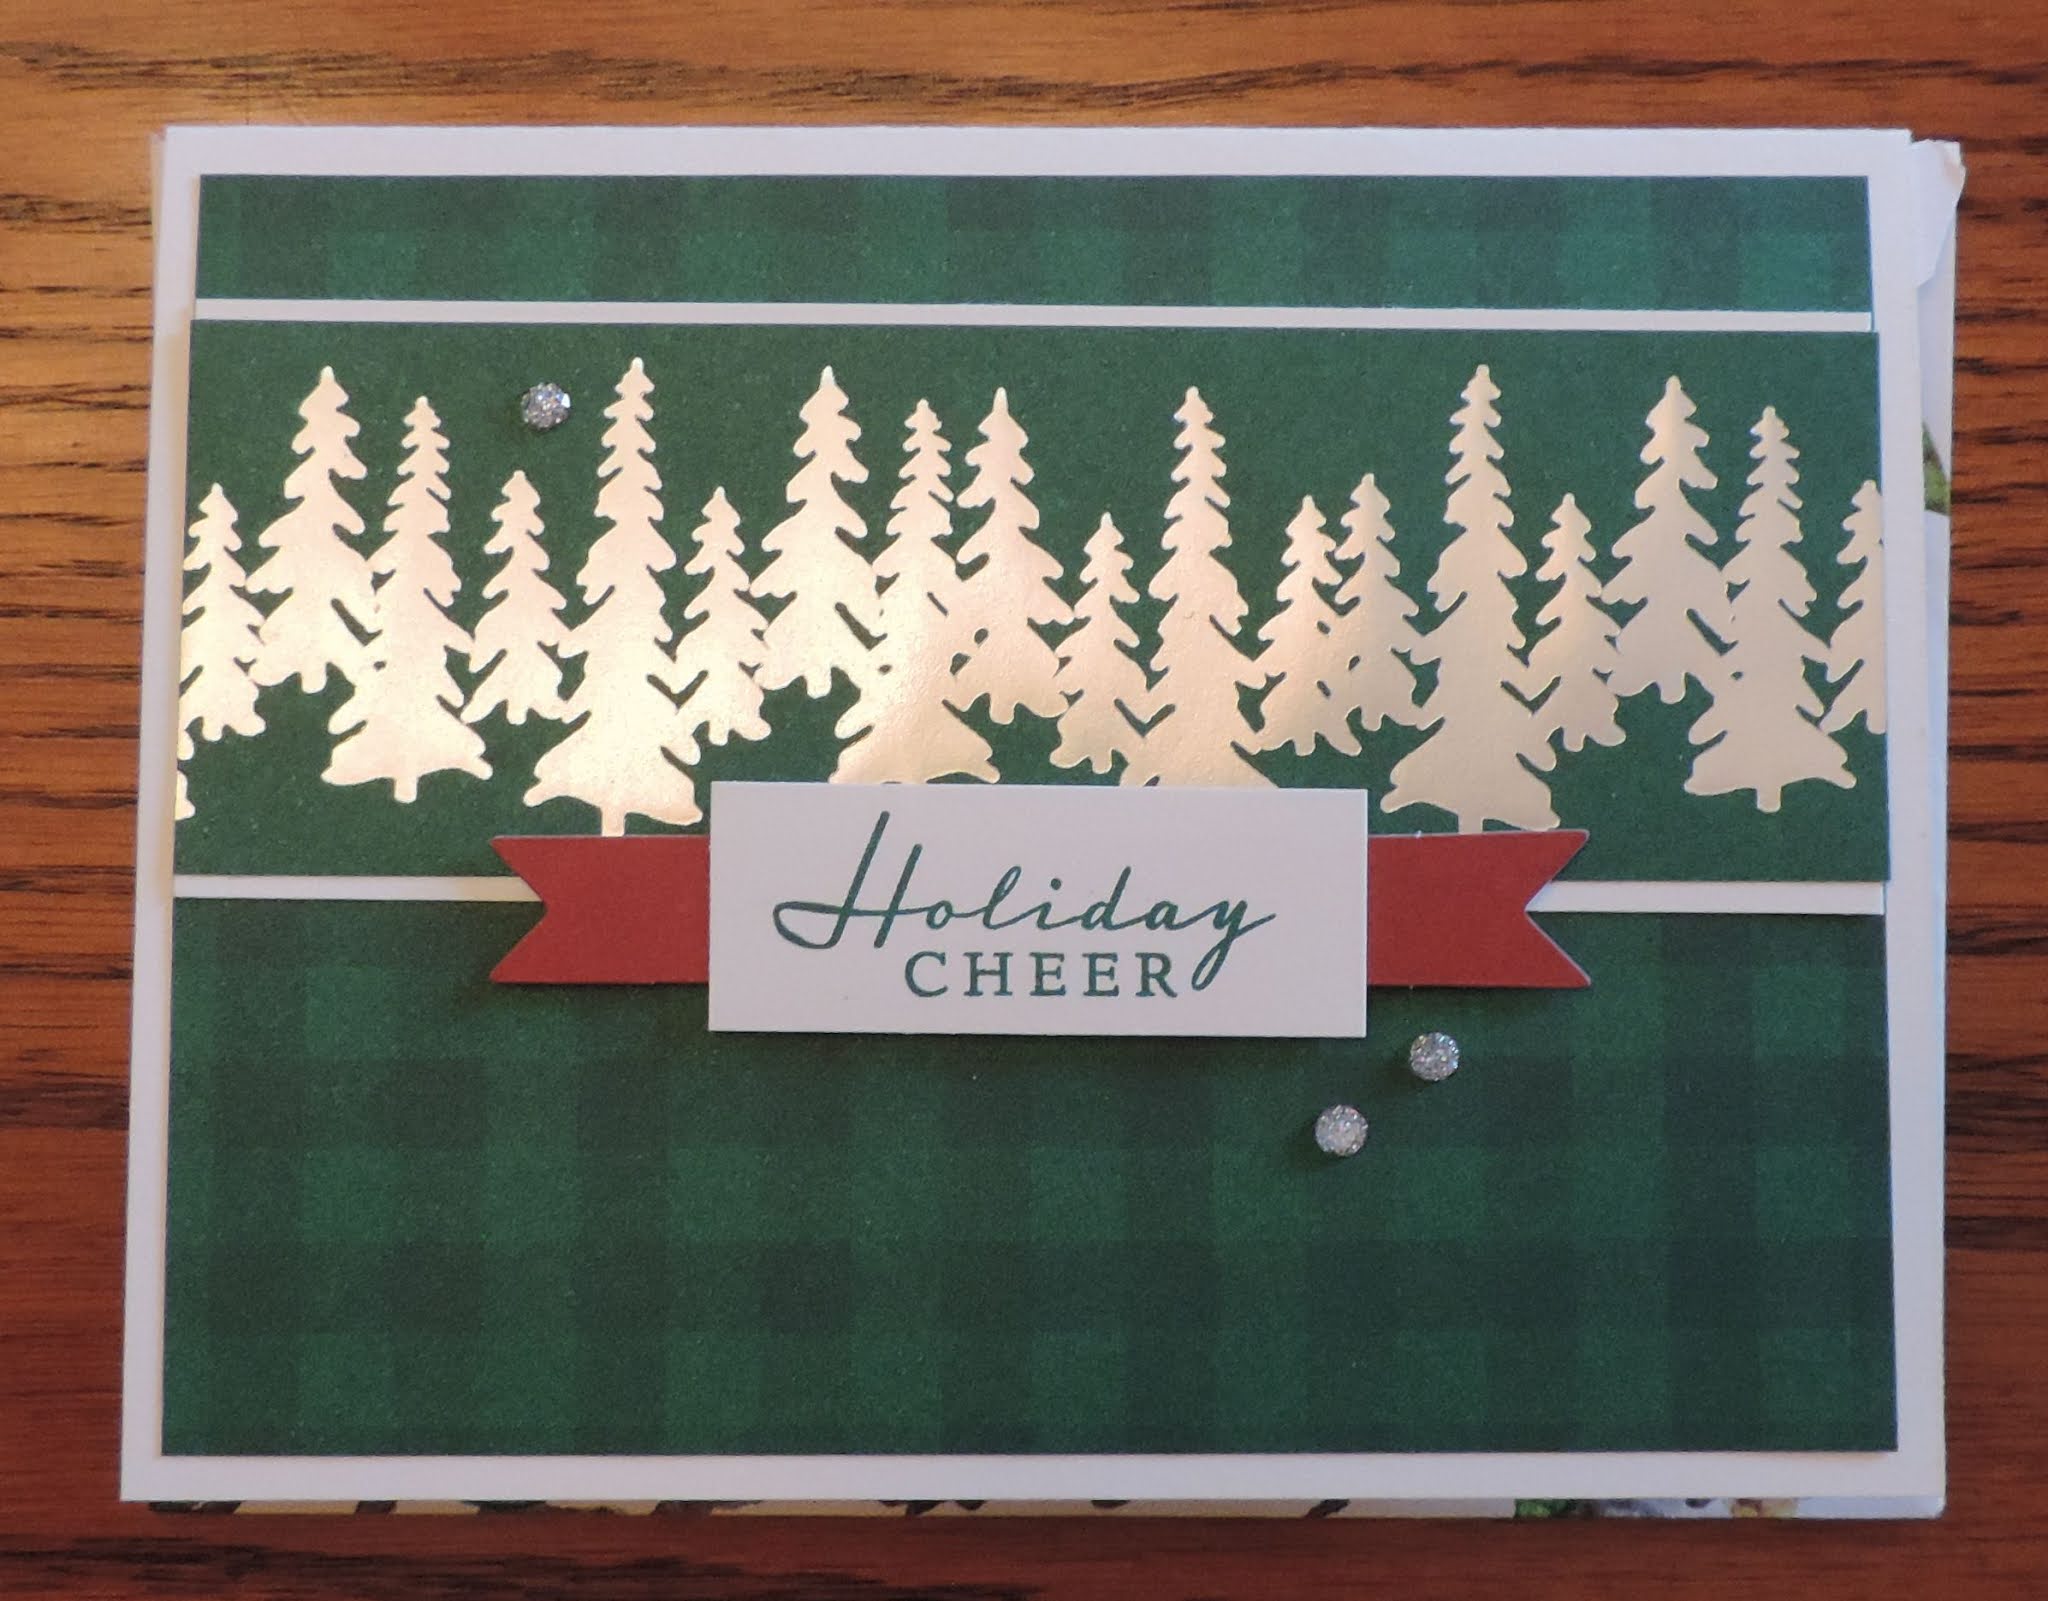
This one, I thought, was very, very clever. The kit comes with ten envelopes that are embossed with the silver trees on the bottom. Creative Chelsea, on YouTube, cut each envelope into thirds and created this. I found it to be very elegant! I made five but have five other envelopes that can also be broken apart..

These three, I absolutely loved and made three each! The first card on the left was using the negative space of the vellum trees, which are on card number three here on the right. I thought this was SOOOOOO clever! 

The last task of this month, is to get these addressed and postal. Then, I can start ALL OVER again in January with my challenge to "Make Five Christmas Cards a Month"... who's with me?

Wednesday, November 3, 2021

Random Cards...

These were made when I attempted to do the "Crushing on Cardstock" class back in August. The class ran from August 23rd thru the 27th. I only did the first couple classes and then waited for some other supplies to arrive before I would finish. The next thing I knew, another two months had passed. I want to send these so I need them documented somewhere. Hence, the "Random Cards" post...

These two were very clever. We used Glad Press'n Seal (invented by Jennifer McGuire's husband) and cardstock spacers to keep the pieces exactly spaced the same. The Press'n Seal keeps the pieces together while we flipped it to add dimension. I liked this but, I think next time, I won't add the dimension. I think it's a pretty simple card but delivers a great punch... 

The one on the left kicked my butt. The one on the right, I look forward to doing again in black and white...

At this point, two and a half months later, I predict I won't get back to this class until the new year. What a putz!

Thursday, October 28, 2021

Sugar Pea Designs WONKY Cake...

This set by Sugar Pea Designs called "Bring on the Cake", originally came out in June of 2016. I purchased not soon after that and used the stamp set to make a variety of cards. THIS time, I used the coordinating die set to make these cakes. When watching the Patriots football game over this past weekend, I thought I'd multi-task and just die-cut, and die-cut and die-cut. As I put these together this week, I realized that it would have been smarter (and MUCH quicker) to pick the patterned papers first, then die-cut coordinating solid color papers. BUT, when do I ever do anything the easy way?? Anyway, five more birthday cards for my stash and absolute delight that I used an OLD set to make it happen... :)

Friday, October 15, 2021

Autumn Cards from Partial's Box

Working on my box of partials, here's three Autumn cards...

This one was a background I did at a friend's house in Columbus in what FEELS like decades ago, although it was only pre-pandemic. The added leaves are a new acquisition that I've had a BLAST die-cutting a bazillion... who knew?!!

This one is actually a one of a kind (OOAK). The background was done in a class with Brutus Monroe at Junkie Fest 2018. I haven't known what to do with the foiled piece, until now...

This is a Mod Podged napkin from ions ago. Why it took so long to turn it into a card is beyond me. BUT, a quick card nonetheless...

So, three more things out of my Partial's Box makes for a Happy Camper! Craft on peeps...

Tuesday, June 22, 2021

Birthday Cards with Ice Cream DSP from Stampin' Up...

Over the weekend, I worked with the Designer Series Paper called "Ice Cream Corner" from Stampin' Up AND the Sheetload of Cards for June 2021 by Call Me Crafty Al. Surprisingly, I completed twelve. How cool is that?!!

Four in corals...

Four in teals...

Four in purples...

This morning, I made envelopes to match the colors in the cards. Now, I've got a LOT of birthday cards for my stash. That should keep me in business for the rest of the year. Oh happy day!!

Friday, May 14, 2021

Gelli-plate Cards...


SO, I must do a blog post on MY birthday, right?!! It's a given. These cards are all from the Gelli-plate...

When I was making all those hearts with the strips from other backgrounds in the previous post, I took this print and added the white acrylic paint and decided the print DID NOT need to go in the trash. I cut it down and added the sentiment sand here you go, done!

This one was part of a challenge to "recycle". It's deli paper I used to bring up the paint on a Gelli-plate. The sentiment is one from the TON... wicked cool!

The three like this were done yesterday after watching a fellow YouTube crafter's video on making prints from her 5" x 7" Gelli-plate. I used copy paper to pull up the image made with foam stamps from Joggles, stencils and acrylic paint. I then, heat embossed the gold hearts through a Newton's Nook stencil, die-cut and stacked the smile die and added the bling. It's a relatively quick card and one that can go to another fellow crafter who shares a May birthday...